Installing a Roll Cage
If you’re considering buying one of our
roll cages, the following are instructions
on installing one. The tips that we
show here, most race car shops
are reluctant to share with you. So
take your time while reading.
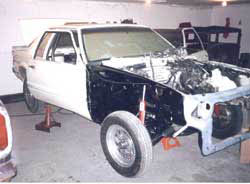
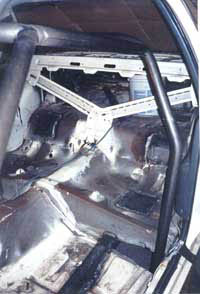
For our purposes we are using an ’86
Mustang. We are installing a “chromoly”
(4130) 12 point cage with our “Extreme
Duty” frame connectors, part#6601.
One thing to remember, Chromoly
roll bars and roll cages are required
by (NHRA),to be “TIG” welded. With mild
steel roll cages, you’re allowed to
“MIG” weld it.
#1 Put car on jack stands and level
up. Cover all glass inside and out
with cardboard.
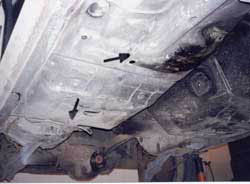
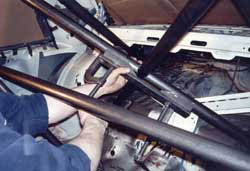
#2 Plot out for frame connectors.
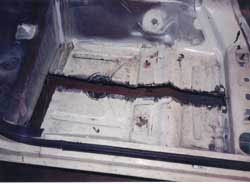
#3 Cut floor out 2″ wide from front
frame rail to, and in line with,
rear frame rail.

#4 Slide Auto Weld’s “Extreme Duty”
frame connector up in place and then
weld all the way around
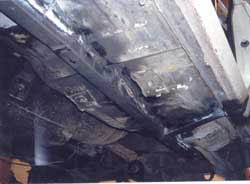
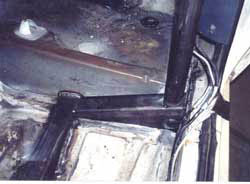
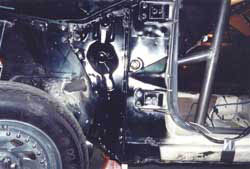
#5 Frame connector welded into place.
#6 Cut the bottom of main hoop to
fit outrigger, or plate, on the floor,
whichever you are using.

#7 After main hoop is tacked into
place, it’s time to fit up the halo
bar at the roof line.
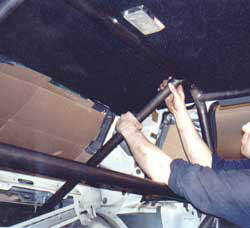
#8 A homemade prop rod will hold
up the front to help get ready to
tack weld.
#9 Prepare the floor for the
A-pillar bars.
#10 If using outriggers, first weld
a plate to the side of the rocker box.
This is the general procedure for
attaching outriggers to the rocker
box for both the main hoop and
A-pillar bars.
#11 If using outriggers , you
will be able to remove them ( if
you tack welded them). This will
enable you to drop the roll cage
down in the car so you can weld
the joints with ease.
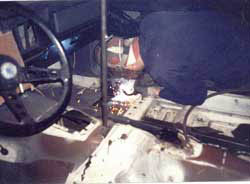
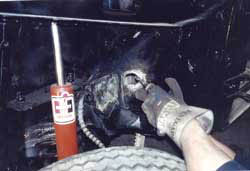
#12 Weld as shown.
#13 After top joints are welded,
stand main cage structure back up
in the car, reinstall outriggers
and weld all around. Then weld bottom
legs of the main roll cage structure.
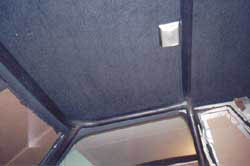
#14 Following these procedures you
will be able to make a nice tight
fit of the top part of the cage
to the headliner. NICE!!
#15 After the seat brace and short
diagonal braces are fit and welded
into place, it’s time to fit up the
back braces. Notice the good coping
job (no gaps in fit up!)
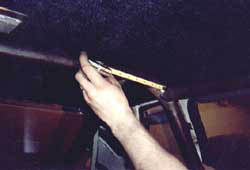
#16 Double check measurements.
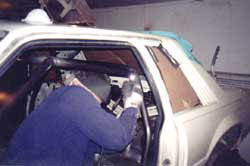
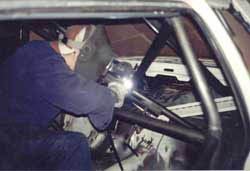
#17 When welding the rear braces
to the top of the main hoop, great
care must be taken so you don’t
burn the headliner. Use a piece of
sheet metal or other similar material
against the headliner. This will
also protect headliner from sparks.
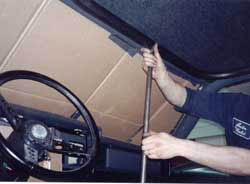
Use a hammer or something else to
wedge the headliner and main hoop
apart, pushing the headliner as far
away from the main hoop as possible.
This will give the extra clearance
to weld, also creating an air gap.
NOTE: You will still have to use a
wet rag to keep sheet metal cool.
You don’t want to melt the headliner!
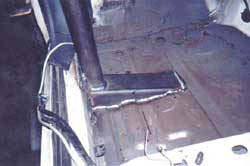
#18 View of how the short diagonal
braces are attached. Always use a
6x6x1/8″ plate welded to the floor
before roll bar tubing is attached.
The short diagonals can also be
attached to the frame connectors.

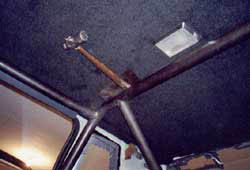
#19 For this project we are also
installing an “X” brace to support
the upper torque box area. The object
is to make the car as stiff as
possible for better reaction. We use
a string for a general projection
of where the X-brace would be.
#20 This little device sure saves
hours of frustration. It keeps
the two tubes in-line with each
other.
#21 Time to weld.
#22 Another trick we use is to run
a short tube from the A-pillar tube
to the front frame area. This greatly
stiffens the front section of the car.
#23 The bar is being fitted.
#24 The bar is now completely welded.

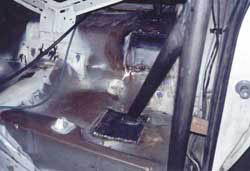
#25 Here is an inside shot of the
front part of the finished cage.
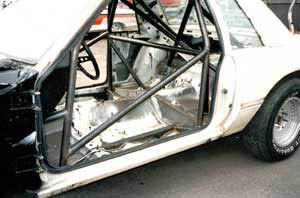
The above car went on to win many
championships.
If you follow these procedures you
will have a safe, good looking roll
cage. We at AUTO WELD hope these
instructions help you with your
project.GOOD LUCK!!
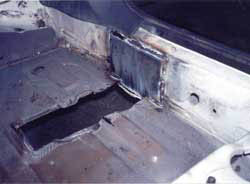
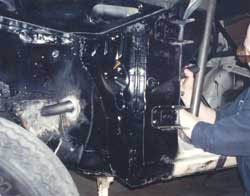
#26 Cage finished! Notice the
“Extreme Duty” frame connectors
protruding up through the floor.
NICE!!